
How to Format Your Word Document for Book Printing
You’re probably no stranger to Microsoft Word. But when it comes to self-publishing, you may not know how to format your Word document for book printing.
We’ll walk you through the steps to format your Word document for printing a book that is a A5 finished size on a PC.
Note: You might operating on an older or newer version of Microsoft Word for PC, some of the prompts may be slightly different from what you see below.
Getting Your Document Started
When you originally typed your manuscript, you more than likely opened a blank Word document and went full steam ahead.
Whether this is the case or you have yet to get started, you’ll need to open a brand-new Word document that you can copy and paste your text into for the best formatting results.
- Create a New Document, and Click ‘Layout’
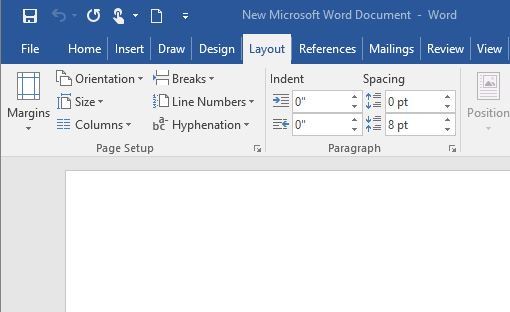
- Click on ‘Size’ and choose A5 (148 x 210mm / 5.83 x 8.26″). A5 is a common book printing choice that is easy to work with.
- Next, click the ‘Margins’ tab, click ‘Custom Margins’ at the bottom of the options, and change Top, Bottom, Left and Right margins to 20mm / 0.75”.
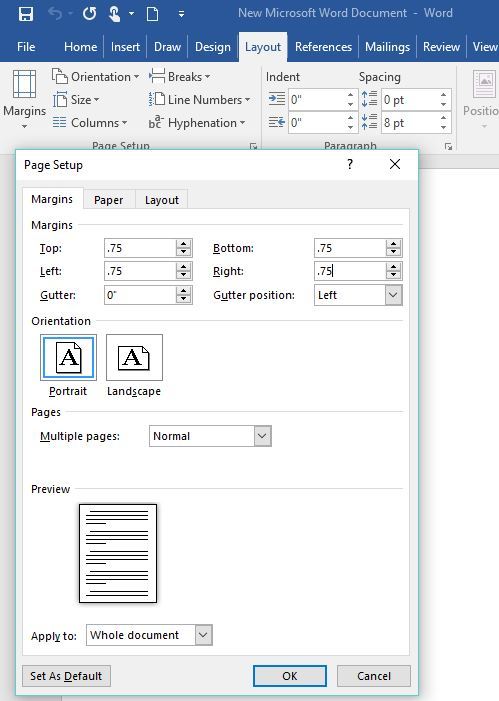
It is important to note that there’s flexibility in these values. If you want larger or smaller margins on the left and right, that’s okay. We recommend never making the left or right margins smaller than a 12.5mm / 0.5″, as text / pictures can get lost in the spine of the book after it’s bound.
Additionally, depending on what you have in your headers and footers, you may want to make your top and bottom margins larger or smaller.
If you’re going to have the title of your book in the header, your margin size defines how much room you have for the title. The same rule applies for your page numbers if they’re in the footer.
Getting Your Document Started
As previously mentioned, the margin sizes you assign to the top and bottom of your document defines the amount of space you will have to place running title headers or page numbers.
Here’s how to properly format your headers and footers:
- Under the ‘Insert’ tab, select the ‘Header’ menu and click on ‘Edit Header.’
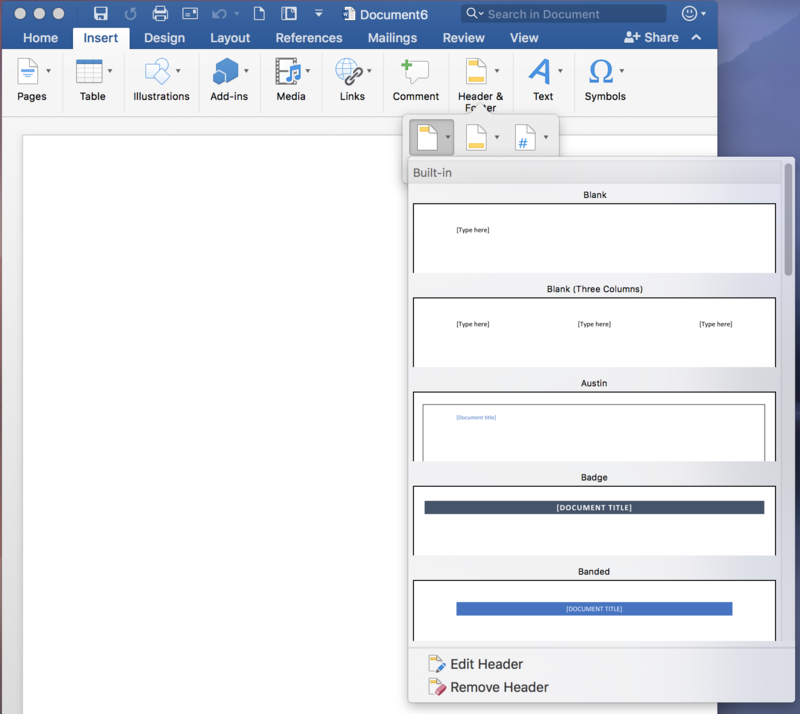
- Enter the title of your book or whatever text you would like to appear at the top of your pages.
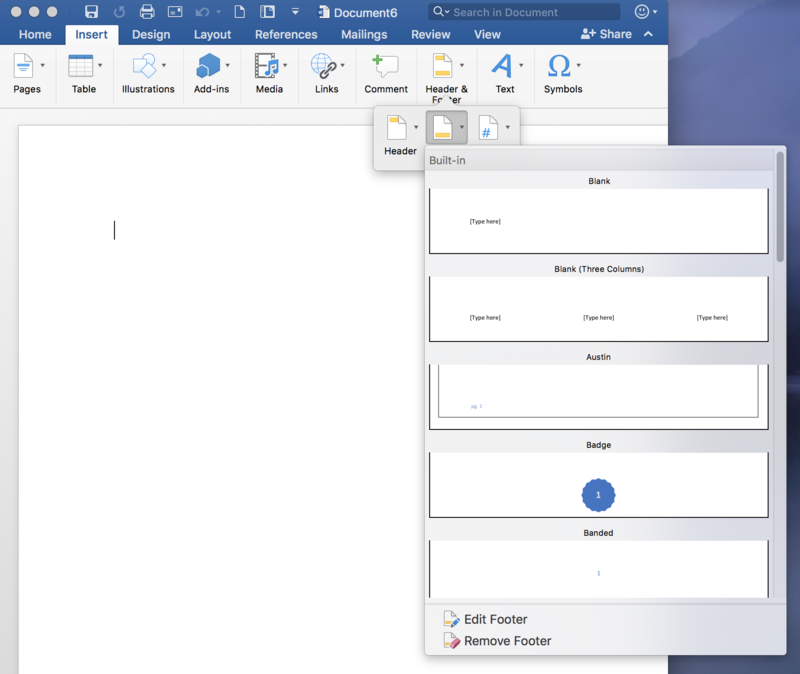
- From this same screen, you can also edit your footer, where you’ll probably place your page numbers.
There is no exact way to modify your headers and footers, it’s your choice to design them as you see fit for your book.
Create and Print
Your document is now prepared to either paste text from an existing Word document, or you can begin typing your manuscript.
When your book is ready to print, you will need to save your file as PDF.
- Click the Microsoft Office Button, point to the arrow next to Save As, and then click PDF or XPS.

- In the File Name list, type or select a name for the document.
- In the Save as type list, click PDF.
- Click Publish.
Now you can upload your file and ready to print your book.